Uploading and Downloading File in Database
If there is a need to keep the attachment content in database table instead of file system, AlchemyJ can achieve this using the ajDBUpdateLOB and ajDBGetLOB. Similarly with single table maintenance, the user does not need to write any SQL statement.
This recipe book is to introduce how to use below extended functions to build a model about file upload and download from database and do validation on the selected file.
- ajCheckDataItem: Check the upload file is in a valid format or not.
- ajDBMergeRecord: Insert or update a record to a database table.
- ajDBUpdateLOB: Upload the file into a database table.
- ajDBGetLOB: Download the file content from a database table using the filtering criteria.
1. Define Components
1.1. We need a table to store the files. Thus, create a table 'tb_supporting_doc' with below scripts in MySQL database.
CREATE TABLE tb_supporting_doc (
  ID int(11) NOT NULL,
  OWNER varchar(45) NOT NULL,
  FILE_NAME varchar(45) DEFAULT NULL,
  DOC_TYPE varchar(45) DEFAULT NULL,
  CONTENT blob,
  PRIMARY KEY (ID)
) ENGINE=InnoDB;
1.2 Create 'MyRESTAPI' via the 'REST API Sample Model', refer to Get Started section for the detailed procedure.
1.3 Click Add Definition button in AlchemyJ ribbon, select External Resources to add the ##ExternalResources worksheet.
1.4 In ##ExternalResources worksheet, configure the data source primary connection information in Data Source Configuration section. Note that the 'Password' value is encrypted via 'Tools\Encrypt Passwords' button in AlchemyJ ribbon. Use the connection information that works in your environment.
1.5 Click Add Component button in AlchemyJ ribbon, select DB Schema to add the DBSchema worksheet. It will prompt a window to input the table name, input 'tb_supporting_doc', and click OK. Columns information will be loaded to DBSchema worksheet. The Data Name column is defined by user that can be used when table schema parameter is used in DB related extended functions or Data Dictionary.
1.5 Go to DataDictionary worksheet, input the data name in column A. In this example, we set the Allowed File Extension for File name is 'txt,xls,xlsm'
1.6 Click Add Component button in AlchemyJ ribbon, select Exception Handling to add the @@ExceptionHandling worksheet. We will define the exception rule here if the upload file extension is not in the allowed list.
2. Define Upload File API
Before uploading a file to database, it needs to ensure the record exists in the table already. We will create two worksheets; one is MergeRec for creating or updating DB records, another one is Upload for uploading the file into the table.
2.1 Create a new worksheet and rename to 'MergeRec' and define the input for ajDBMergeRecord. B2:F3 is the input address for this API.
2.2 Create a new worksheet and rename to 'Upload'. Cells in yellow are using the formula to get the value from input in the 'MergeRec' worksheet. Use ajCheckDataItem in B2:D2 to validate the input file. It returns False in D2 if the selected file extension is not in the allowed list.
2.3 Define the exception rule in @@ExceptionHandling worksheet to raise error if the file extension is invalid. The error detection formula is '=IF(Upload!D2, FALSE, TRUE)'
2.4 When there has no error during executing the ajMergeRec (MegeRec!B10) function and the ajCheckDataItem returns TRUE (Upload!D2), then execute the ajUploadLob in Upload!B18. Set the A18:B18 as the API response address.
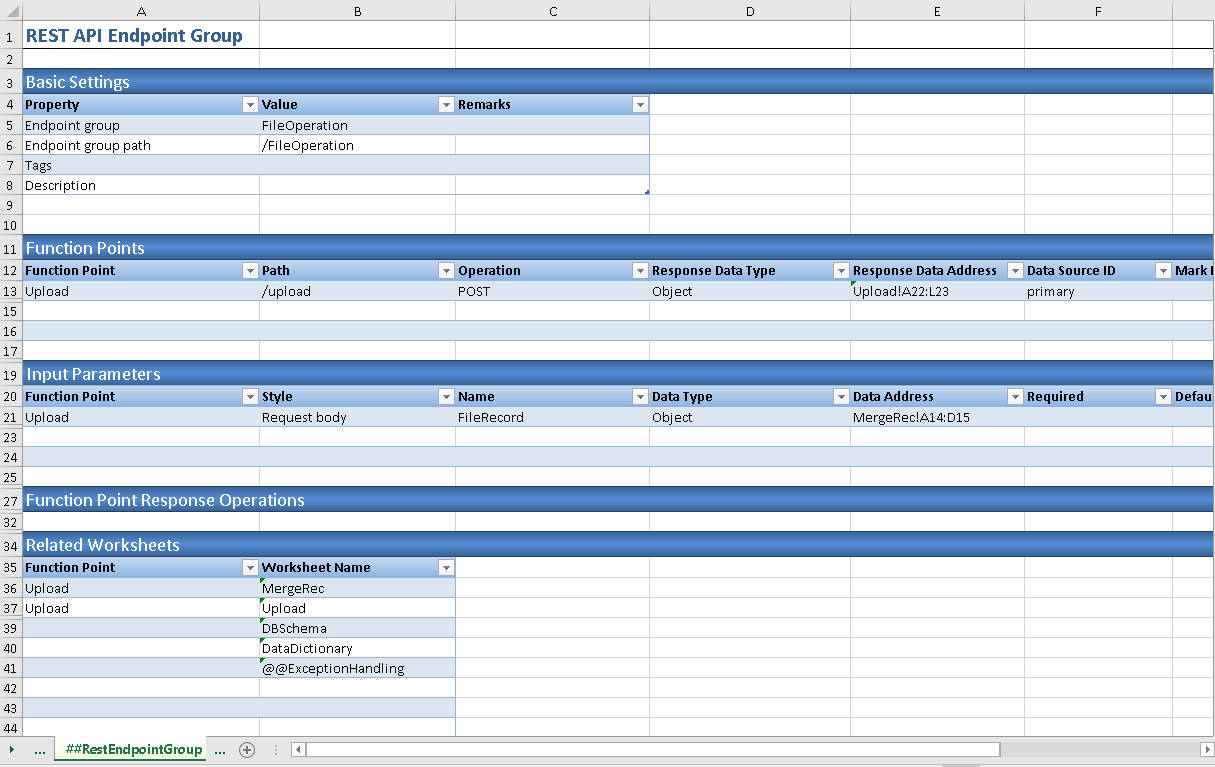
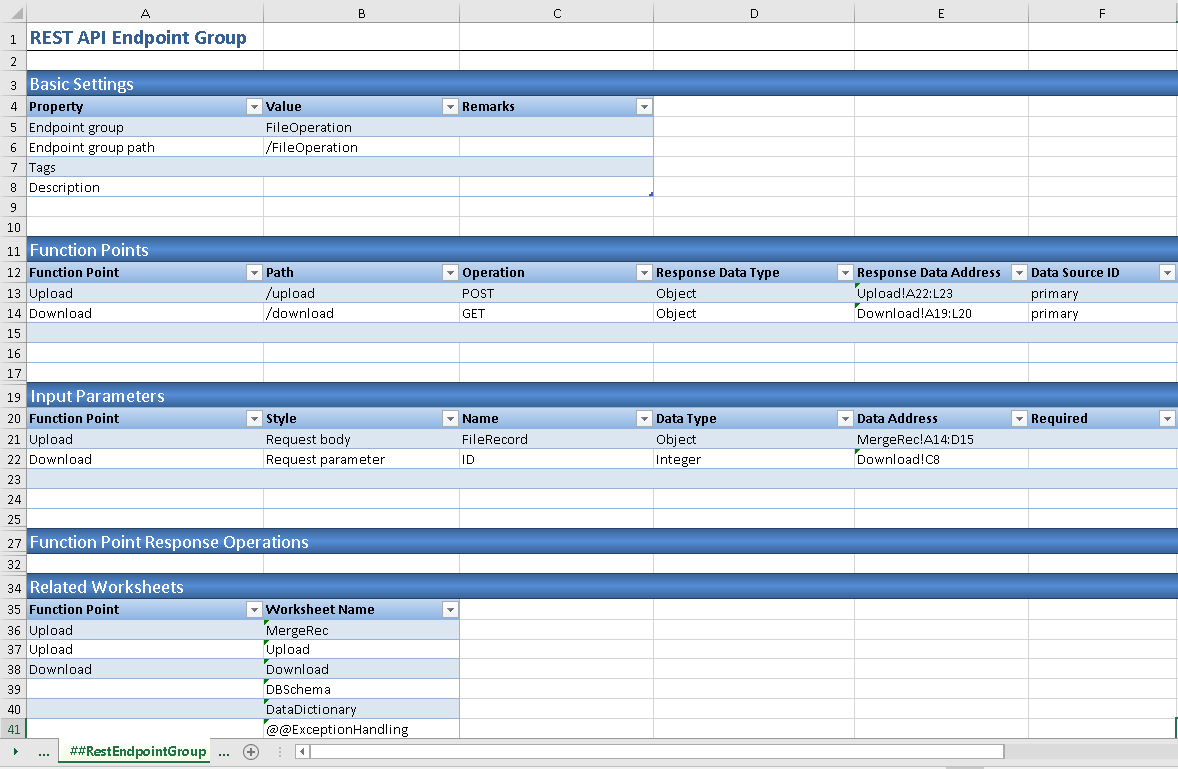
2.5 Define the function input and output information in ##RestEndpointGroup. The worksheets used by upload function point should be added to Related Worksheets section.
3. Define Download File API
3.1 Create a new worksheet and rename to 'Download' and define the input for ajDBGetLOB. C8 is the input address for this API. A15:B15 is the response data address.
3.2 Define the function input and output information in ##RestEndpointGroup. The worksheets used by download function point should be added to Related Worksheets section.
4. Generate and Launch the API
4.1 Click Generate API button in AlchemyJ ribbon, wait for the application started.
4.2 Click Launch OpenAPI button, you can view the function point information defined in sections 2 and 3.
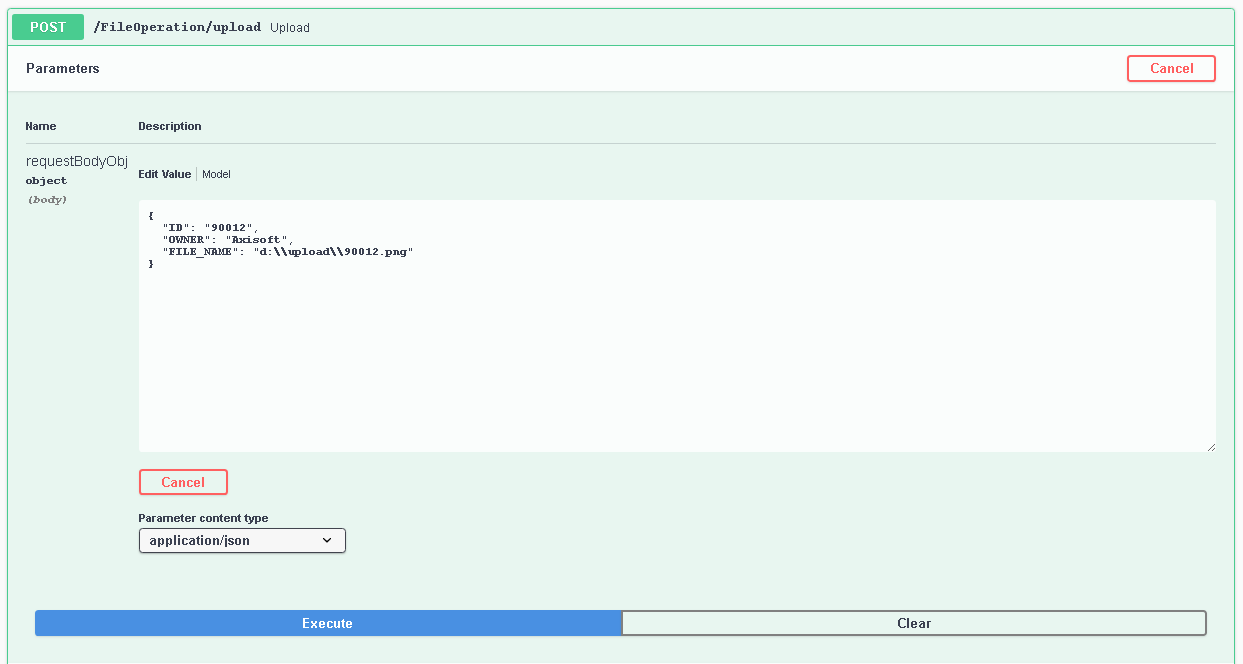
4.3 Click the Upload endpoint and input the request object in JSON format and click Execute button
{
  "ID": "90012",
  "OWNER": "Axisoft",
  "FILE_NAME": "d:\\upload\\90012.png"
}
The error message returned since png is not in the allowed extension list.
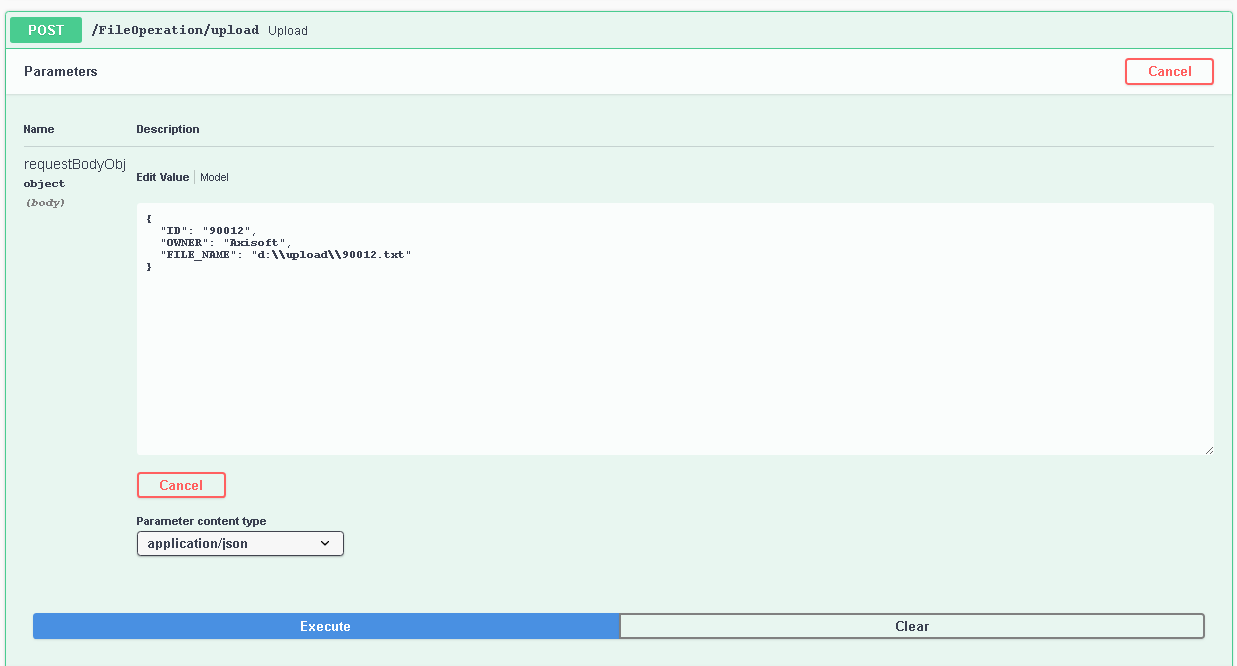
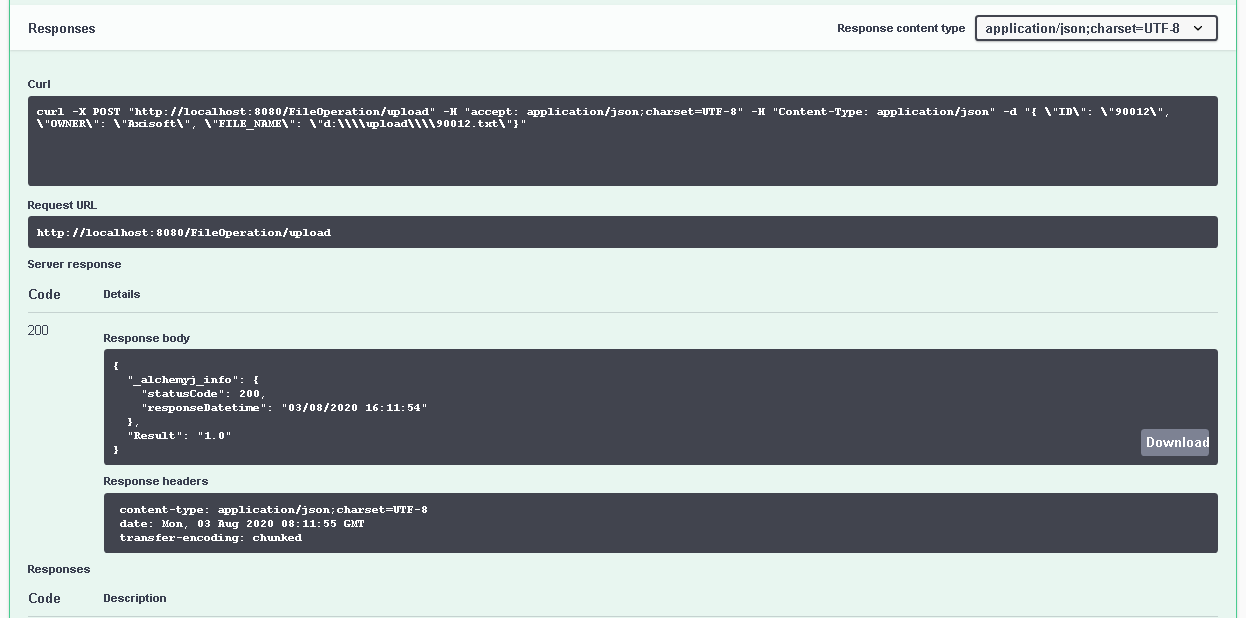
4.4 Change the upload file to 90012.txt and execute the function point again.
The file should be uploaded to DB successfully, the affected row is returned.
4.5 Click the Download endpoint and input the ID as 90012.
4.6 File will be saved to the specified path successfully.


